Short guides for curators and archivists. How to create a collection, add the fields you need, and catalogue an item.
These manuals describe what you can do in CurAI-it today. Sign in at https://curai-it.io with your email and password.
Create a collection
CurAI-it stores objects in collections. A collection is a group of items that share a purpose: a cabinet, a deposit, a project. You choose the name, the collection code, and the accession number template when you create it.
Along the top you will see Dashboard, Collections, AI Review, Archive Chat, Import / Export, and your user menu.
Start a new collection
Choose Collections in the top navigation, then create a new collection. On the Dashboard you can also start from Create Collection.
Fill in the form. Required fields are marked. Create Collection stays unavailable until the collection has a name.
Choose Create Collection.
What the form asks for
Collection name - the name you will look for later.
Description - a short note for you and colleagues.
Collection type - defaults to Personal Collection.
Collection code - used in the accession number template (uppercase letters and numbers).
Accession number template - defaults to [YYYY]-[CollectionCode]-[NNNN].
AI model and AI prompt for this collection (how drafts are written). You can leave the defaults while you learn the form.
OCR entity categories - names, places, dates and similar taken from documents. Leave the defaults unless you have a reason to change them.
Icon and colour - a preview updates as you choose, so the collection is easy to spot in a list.
View permissions - who can see items in this collection. You can keep the account default.
Accession number template
You set the template on this form. It belongs to this collection, not the whole account. Each collection has its own counter, which starts at 0.
Year and month come from the date when the template is filled in.
Variables you can use:
[YYYY] - full year, for example 2026
[YY] - two-digit year
[MM] - month, 01-12
[CollectionCode] - the code you set above
[NNNN] - four-digit counter
[NNN] - three-digit counter
[NN] - two-digit counter
Accession numbers on import
If you import from a file, map the column that holds your accession numbers. On Configure, choose an Accession number strategy. Auto-generate keeps mapped numbers and gives each blank row a number from this collection’s accession template. From file uses mapped numbers only. None leaves blank rows without a number.
Example
Use your own collection name. Choose a short collection code in uppercase letters and numbers. Leave the accession template as [YYYY]-[CollectionCode]-[NNNN] unless you already have a house style. Leave AI model, prompt, and OCR categories as shown. Choose Create Collection.
A brand-new collection has no items yet. Next, add the fields this collection needs, then add items.
Custom fields
Custom fields are extra questions you add to a collection. They appear on items in that collection only. Other collections do not see them.
Open Field Definitions
Open the collection.
Choose the Field Definitions tab.
If the collection has no fields yet, choose Add First Field. Otherwise choose Add Field.
If there are no fields yet, you will see a short empty state: no custom fields yet, and a prompt to add some so you can capture extra details for items in this collection.
What you can set
Field Label - the name you see on the item form.
Field Key - lowercase letters, numbers, and underscores only. Filled from the label.
Data Type - what kind of answer this field holds.
Display Order - the order of fields on the item form.
Help Text - a short hint under the field.
Placeholder - faint example text inside the field.
Required - marked on the form. If you import a file and a required mapped field is empty, the import will not accept that row.
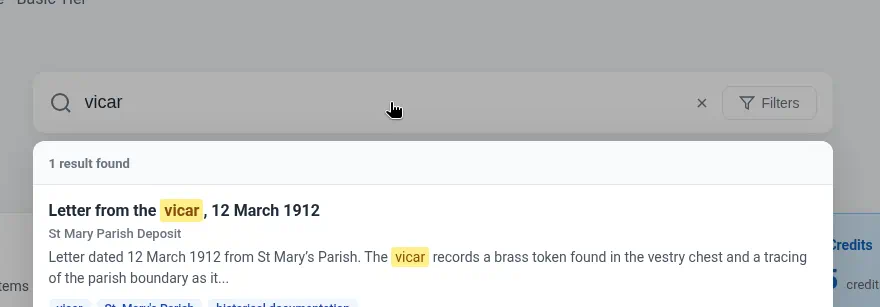
Searchable - on by default. Searchable fields are included when you search.
Search includes fields you leave searchable.
Types you can use
Type
What it is for
Text
A short line of text
Text Area
A longer note
Number
A whole number, with no decimal point
Decimal
A number that can include a decimal point, for example 1.5 or 12.75. Use Number if you only need whole numbers.
Date
A date
Date and Time
A date and a time
Boolean
Yes or no
Select
One choice from a list you set
Multi-Select
More than one choice from a list you set
Email
An email address
URL
A web address
Classification
One term from a classification tree
Currency is already a built-in field on the item (USD, EUR, GBP, JPY, CAD, AUD). Do not add it as a custom type.
Photographs belong on the Images section of the item, not in a custom field.
Select and Multi-Select
Add Options, separated by commas or new lines. For example: Bronze, Silver, Gold.
Classification
A Classification field lets you pick one node from a classification tree you choose. One node per field. You cannot add a new term on the item form. Add terms in Classification Trees in account settings first, then pick an existing node on the item.
The hierarchy lives on the tree, not on Text, Select, or other field types. See Classification trees.
Example
On your collection, add a Text field, a Text Area field, and a Select field (with a short list of options). Leave Searchable on. Choose Add Field each time. You should see three rows in the table (Label, Field Key, Data Type, Properties, Actions). These fields then appear on items in this collection, in the display order you set.
Classification trees
A classification tree is a shared list of terms, arranged as a hierarchy. Trees belong to the whole account, so the same tree can be used on many collections.
You will find Classification Trees in account settings.
How a tree is used
On a collection, add a custom field with type Classification and choose the tree. On an item, pick one existing node. That is one node per field.
Only the Classification field type uses this hierarchy. A Text or Select field is a flat value. It is not a tree.
A path might read Country, then County, then Place.
Build a tree
Open Classification Trees in account settings.
Add a root node - the top of the tree.
Add children under that node, and children under those, until the path is as deep as you need.
On the collection, open Field Definitions and add a field with type Classification. Choose this tree.
On an item, open that field and choose one existing node.
On your collection, add a Classification field and choose this tree. When you add or edit an item, choose one existing node. One node only.
Add items
An item is one object in a collection. You add it from the collection header. You can type the record yourself, or let CurAI-it draft a title and description from photographs or a PDF and then review that draft.
Open Add Item
Open the collection.
Choose Add Item in the header. If the collection is empty, you can also choose Add Item from the empty state.
Process with AI
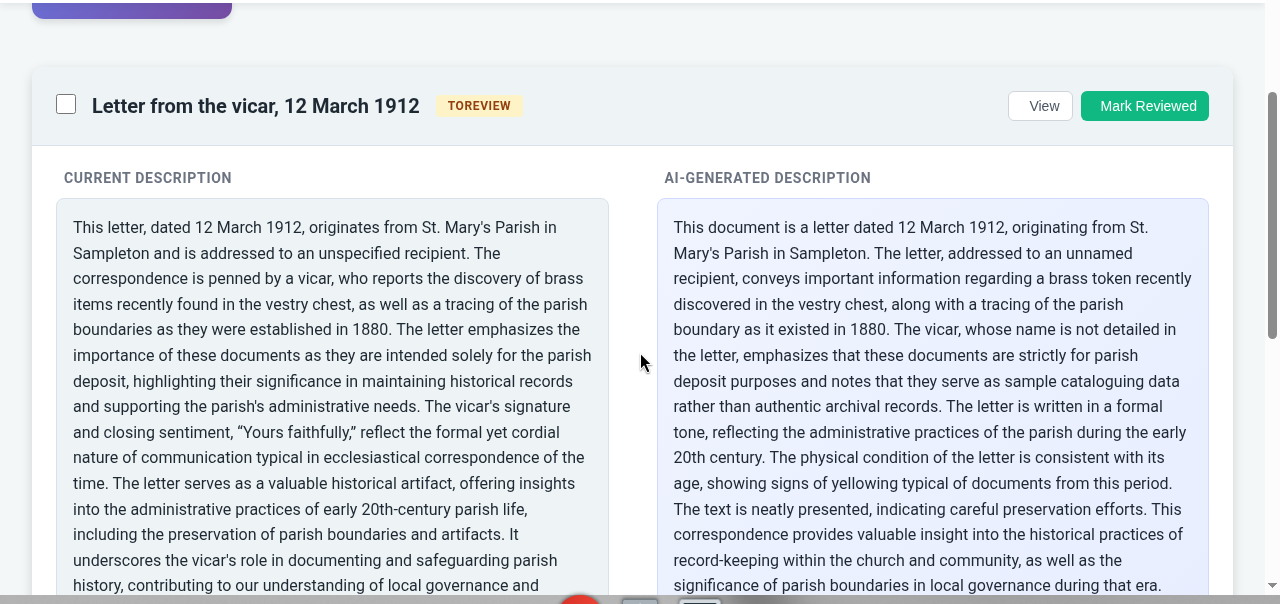
Process with AI is on by default and uses credits. It runs in the background. If you upload photographs or a PDF, CurAI-it can draft a title and description from that content. Review the draft in AI Review.
Leave it on when you have something to process. Turn it off when you want to type the title yourself. Title is then required before you can save.
What the form asks for
Collection - keep the collection you opened, or choose another.
Title - optional while Process with AI is on. Required if you turn it off.
Description
Process with AI - on by default.
Location
Condition
Estimated value
Currency - USD, EUR, GBP, JPY, CAD, or AUD.
Acquisition date
Tags - comma-separated.
Custom fields - the fields you defined on this collection, in display order.
Images - Add Images, Choose Files, or Take Photo. Images upload when you save.
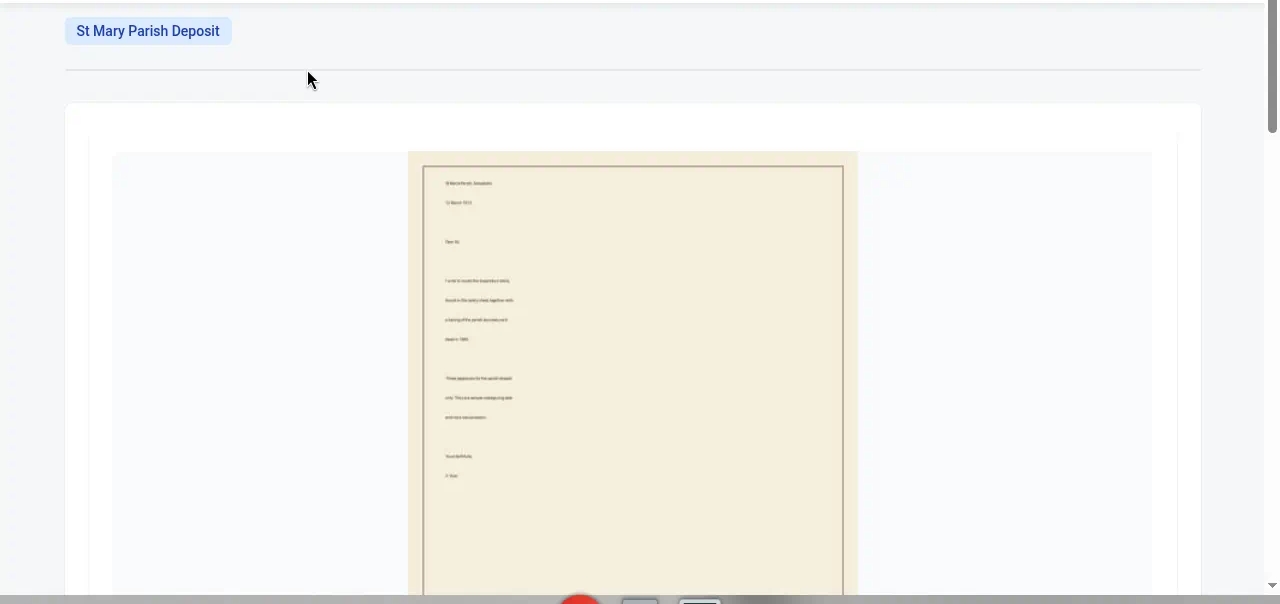
Documents - a PDF, so the text can be made searchable.
At the bottom: Cancel or Create Item.
Photographs go on the Images section - Add Images, Choose Files, or Take Photo.
Example
Open your collection and choose Add Item. For a first practice record, turn Process with AI off, type a title, and choose Create Item, so you do not spend credits. You can skip images, documents, and optional fields.
After you save
You land on the item. From here you can go Back to Collection or Add Another Item.
On the collection, the item appears as a card. Open it with View Details.
If you left Process with AI on, the draft title and description come from the photographs or PDF you uploaded. Open AI Review in the top navigation and accept or change what you see.
Review drafted titles and descriptions in AI Review.
Ask the catalogue
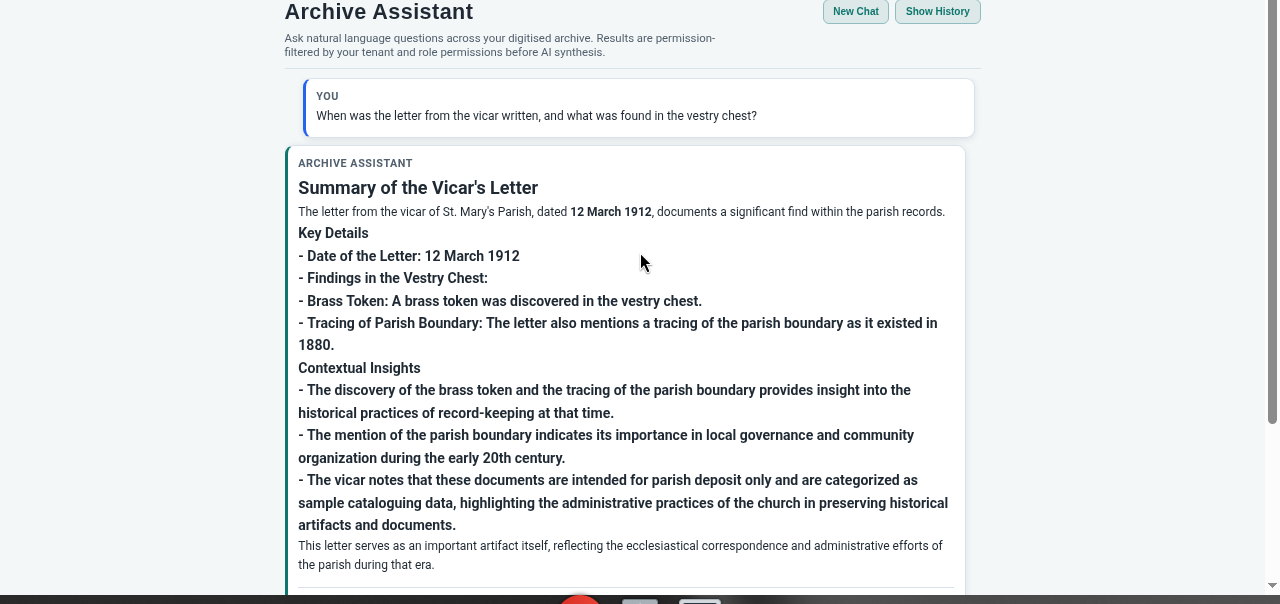
When you have items in a collection, open Archive Chat in the top navigation. That page is Archive Assistant: ask a question in plain English about what you hold.
Archive Chat opens Archive Assistant, the in-app catalogue chatbot.